How to design your blog will be the longest part of the journey, because you’re building the framework of your website.
Think of it like you’re building a house. You’re building the foundation, the kitchen, the bedrooms, the bathrooms and all the other parts of your house.
To design your blog and get the foundational elements up, these are the next core steps:
- Make a Kickass Logo
- Pick your Color Palette
- Get a WordPress Theme – GeneratePress or Divi
- WordPress Plugins
- About Page
- Three Must-Have Legal Pages
1. Make a Kickass Logo
You’ve picked your brand name, bought the domain, and signed up for the various social media channels. Now you need a logo to use across all the platforms, so your visitors will know that it’s all you. You need continuity of design here.
This stage is where many people will get stuck and dwell on this for days, weeks, even months.
I don’t want you to get stuck at this stage. Because we’re creating a blog and affiliate marketing online business, we won’t need to print the logo right now, if ever. If we were creating a physical product that the logo would need to be printed on, I’d give a different set of instructions. Luckily, this is an online business and we want to keep moving.
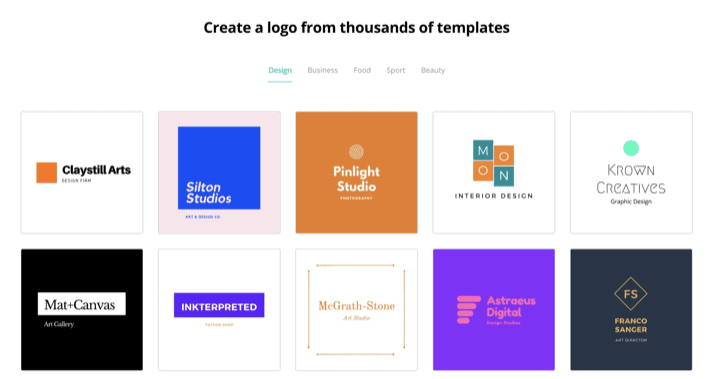
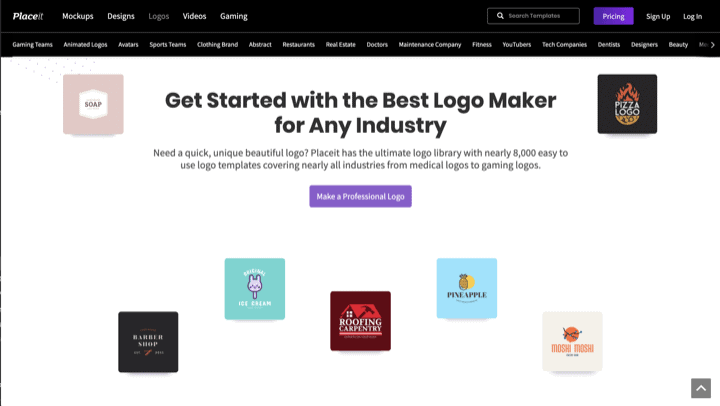
The two options that will provide quality logos easily and quickly are Canva and Placeit. They both have logo makers through their website, allowing users to create logos themselves.
Canva has both a Free and Paid plan. The Paid plan is billed monthly, anywhere from $9.95 to $12.95 per user. For our purposes, the Free templates should give you a good, initial logo.
Canva has a nice tutorial on logos and how to make your own logo.
Placeit is another option and it has better design templates to work worth, including more industry types. But Placeit does have a cost. It’s either $39.99 per logo or you sign up for a monthly or annual plan. I have their annual plan, because I utilize their mockups all the time for eCommerce. I’m able to put logos, graphic designs, other images on people and things. For example, I can put a design on a t-shirt and have a photo of a real person wearing that t-shirt within a minute. There’s no need to print the t-shirt, hire a model, and do a photoshoot.
Take a look at Placeit’s tutorial to see how easy it is too.
Both Canva and Placeit will get you a logo quickly. As your online business grows and you make more money, you can hire a designer or start a contest for multiple logo submissions on 99designs.
2. Pick Your Color Palette of Primary and Secondary Colors
While you’re making your logo, you’re going to start thinking about color. Your logo will start setting a color identity for your brand, it’s all part of your visual identity in branding. The goal is always for branding consistency across platforms.
Colors for your site will be a personal choice. Keep in mind that the more colors you have, the more distracting your site could be for your viewers.
Notice the colors of my site? It’s black, white and blue as a highlight. Images have color, but I don’t use any other colors for my logo, design or text copy.
I like the simple, minimalistic feeling. I did have an early thought about going even more minimalistic by changing all images into black and white before uploading, but ended up doing color images for now.
Canva has a great article on colors and finding complementary colors to design your blog.
3. Get a WordPress Theme
There are thousands of WordPress Themes out there. I’ve probably tried out a couple hundred since 2003 when WordPress was released.
I’ll have to say that I’ve never been able to find “the one” theme that fits all my blog design needs. That’s why I have two favorites when it comes to WordPress themes – GeneratePress and Divi. Both offer the most flexibility and get me up and running quickly with their many templates.
They both have pros and cons, serving different purposes for me. Both Paid themes. There are a lot of areas where Free options provide more than enough blog design features, but a good WordPress theme is not an area where a Free option will get you to where you need to go for an online business. It’s a good investment.
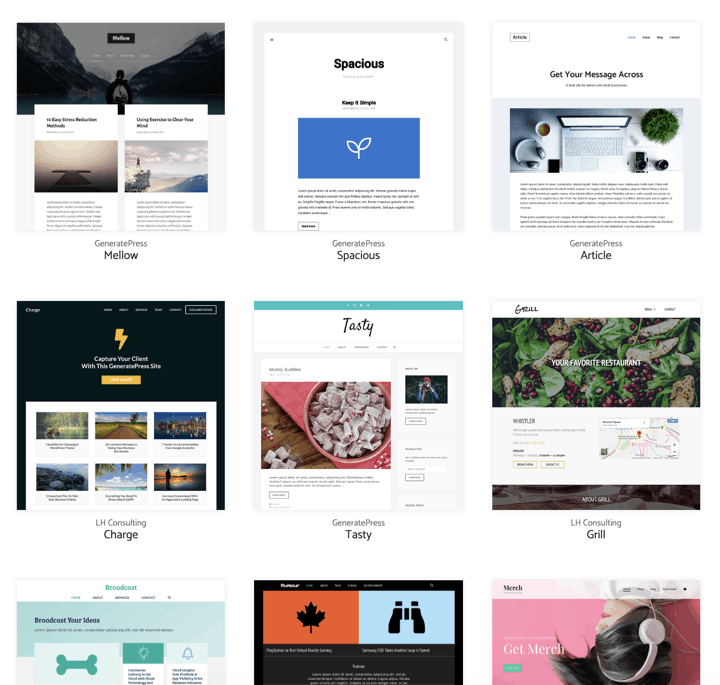
GeneratePress Premium Theme, $49.95 lifetime – Producer in You is built using the GeneratePress theme. The theme does come with a Site Library of about 30 templates that you can use to kick off the design of your site. I used one of the templates and made customizations myself using the theme’s built-in features for the most part.
Can you guess which site template I’m using to design my blog?
GeneratePress is my go-to for sites I update frequently. For a site like this one, where I’m constantly posting and tweaking, GeneratePress is a tad quicker because it doesn’t have as many design features as Divi.
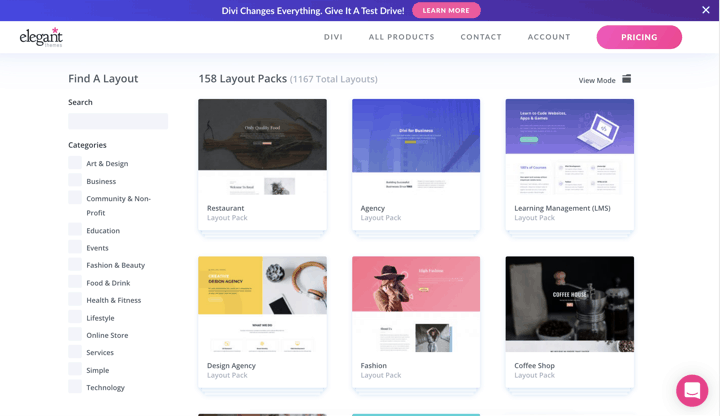
Divi Theme by Elegant Themes, $89 per year – If I’m making a site that I want to look beautiful and it’s more of a static site, I’ll use Divi hands-down. While GeneratePress has about 30 site templates, Divi has over 1100. They have designs for almost any industry and business you could think of. If you have a yoga school, you’re a design freelancer, author, coffee shop, Divi has you covered. Their theme is complete drag and drop, super easy to design and adjust the design as you want it.
If you care more about the design of your blog and not looking to adjust all that much, then Divi is for you. You’ll be able to make some great looking sites.
Both of those themes offer step-by-step installation guides after purchasing, so you won’t be lost.
4. WordPress Plugins
Plugins are a big part of WordPress, because they add features on top of WordPress that are needed nowadays, like SEO and security features.
There are over 55,000 WordPress plugins, so you should be able to find a plugin for anything you want to do with your website. But there’s also a danger to having that many plugins, because you can get “plugin happy” and that will slow your site down, even if you have plugins to speed up your site.
There are many paid plugins out there, but there are also many great Free plugins.
To get started, in your WordPress Dashboard, you’ll want to go to the Plugins -> Add New section. From there, you’ll be able to search for each of the plugins below.
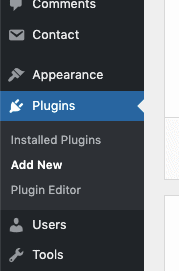
Here are the “essential” plugins that I’ll install on any WordPress site I have and all have a Free plan that’s all you’ll need:
- All in One WP Security – protect your site from bad actors looking to hack into your site
- Autoptimize – speeds up the website for your visitors
- Black Studio TinyMCE Widget – allows for HTML in widgets
- Bloom – creates beautifully elegant, email opt-in forms on the site
- Bloom is Free as part of the Divi theme. Divi’s paid theme allows for unlimited sites, so this is what I use on all my sites.
- Contact Form 7 – for the contact form on the Contact page
- WP Mail SMTP – needed to be able send emails from the contact forms built in Contact Form 7
- Redirection – creates “pretty” links like https://producer.com/something to redirect ugly, affiliate links to outside websites
- Site Kit by Google – adds Google’s Free features of Search Console, Adsense, and Analytics
- Smush – compress image sizes to help your site load faster for visitors
- UpdraftPlus Backup/Restore – just as the name says, backup and restore your site, so you never lose it if the web host server goes down, or something accidentally happens to your site
- Yoast SEO – the plugin that’ll help your site get ranked better on search engines like Google
Whew! It seems like a lot, but it’s not that much. These 11 WordPress plugins are the core plugins for my WordPress sites. I’ll add others that are site-specific, but these 11 plugins are there on all my sites.
5. About Page
The About page can be argued as the most important page of your site, next to the homepage.
This is the page where visitors will automatically go to when they found a good article and want to read more about the author. Think about it. How many times have you clicked About to find out more about an author?
Visitors want to know what your site is about and who you are. You want the visitors to know why they should continue coming back or sign up for your email list. Be sure to highlight what the value you’re providing to visitors.
This is also an opportunity for you to discuss how your site is different from what people expect, based on what’s “normal and usual.”
If you take a look at my About page, I start with a definition of “Producer” and what it means. I do the same thing on the homepage. I did that because I’m using the word Producer in a way that others don’t. Most people think of a Film Producer or Music Producer. I use Producer as a combination of an Entrepreneur and Leader.
6. Three Must-Have Legal Pages
This is the least fun of all the steps above to design your blog, because it’s the legal part of your site. No one likes to read pages of legalese, but you do need to get these three pages up to help avoid legal issues down the road:
- Privacy Policy – tells your visitors that you’re collecting data, how you’re storing and using that data
- Terms and Conditions – you set the rules that visitors must agree to when using your website
- Disclaimer – protects you from claims against you and your website.
You can read all of my legal pages to see what those pages contain.
Yes, the majority of people don’t read those pages, but you must have them there if you want to protect yourself and your business against claims.
With the disclaimer, I’m sure you’ve noticed that all my blog posts have it at the top. It says there may be affiliate links in the posts and if you click on them, I’ll receive a commission to help keep the site going. But there’s absolutely no extra costs to you, the products and services do not cost more just because you’re clicking from my site. In fact, the products and services might be cheaper through the affiliate links. I put the disclaimer on every page, because I don’t want you feeling like I’m hiding anything.
These three pages also need to be customized a little according to your business and the content you’re providing.
The expensive way to get these pages is to hire a lawyer to write them for you. This could get into thousands of dollars. While the pages should be customized for your business, there are also areas that are stock.
What you should NOT do is go online and find a free template, because they have lots of holes in them. This is one of those situations where the phrase you get what you paid for rings loudly.
The easiest, quickest and cheapest way to protect yourself is to get a legal bundle of templates written by a lawyer who is a blogger herself at A Self Guru.
The Starter Legal Bundle is $197 for the three templates of the three pages, 9 bonus legal templates and clauses, lifetime free updates and a private membership area. This is an affiliate link, but using it will get you $40 Off, so the cost is only $157. Well worth it in my opinion for the protection.
Conclusion
There you have it. Once you’ve completed all those steps to design your blog, you’re done building the exterior of house.
You’ve created the curb appeal.
The next steps will be filling out the interior of the house with furniture, lighting, and everything else that defines the interior.
Your goal now is to get people to feel welcome and want to keep coming to visit.
Handy recap of the important aspects to keep in mind when designing out your blog:
What are the Core Steps to Creating your WordPress Blog's Website's Foundational Elements?
Follow these core steps to design the framework for your WordPress blog website:
1. Make a Kickass Logo
2. Pick your Color Palette
3. Get a WordPress Theme
4. WordPress Plugins
5. About Page
6. Three Must-Have Legal Pages
What are the Essential WordPress Plugins for your Blog Website?
These essential WordPress plugins also all have Free plans!
1. All in One WP Security
2. Autoptimize
3. Black Studio TinyMCE Widget
4. Bloom or another email opt-in plugin
5. Contact Form 7
6. WP Mail SMTP
7. Redirection
8. Site Kit by Google
9. Smush
10. UpdraftPlus Backup/Restore
11. Yoast SEO
What are the 3 Must-Have Legal Pages for your Blog Website?
Be sure to get these three legal pages up on your website to help avoid legal issues down the road:
1. Privacy Policy
2. Terms and Conditions
3. Disclaimer
If you haven’t yet, check out the other parts of this series on being an Entrepreneur and starting an online business:
- How to be an Entrepreneur – Are you sure you want it?
- How to Start an Online Business – Overview – Part 1
- How to Start an Online Business – Find your Niche – Part 2
- How to Start an Online Business – Pick your Brand Name – Part 3
- How to Start an Online Business – Setup the Blog Domain, Web Host and WordPress – Part 4
- How to Start an Online Business – Design Your Blog Website – Part 5
- How to Start an Online Business – Creating SEO Rich Content for Your Blog Posts – Part 6
- How to Start an Online Business – How to Successfully Market Your Blog or Business – Part 7
- How to Start an Online Business – Choosing Affiliate Programs – Part 8

